What Size Mini Split Do I Need – 9,000 BTU vs 12,000 BTU?
If you’re diving into the world of ductless mini splits for heating and cooling, one of the first questions you’ll face is sizing: should you go with a 9,000 BTU mini split or a 12,000 BTU mini split? The answer depends on your room size, insulation, climate, and installation preferences. This guide breaks down the key factors to help you choose the right single zone sizing for your space—plus what you need to know about installation setups, true DIY models versus professional installs, and how modern tools like pre-charged line sets and quick connect fittings simplify the process.
Understanding BTU Ratings and Single Zone Sizing
BTU stands for British Thermal Units, a measure of energy used to indicate the cooling or heating capacity of HVAC equipment. For mini splits, BTU ratings tell you how much heat the unit can add or remove from a space per hour.
When selecting between 9,000 BTU and 12,000 BTU mini splits, the basic rule of thumb is:
- 9,000 BTU mini splits are ideal for rooms roughly 250-400 square feet.
- 12,000 BTU mini splits work well for rooms approximately 400-550 square feet.
However, square footage isn’t the only factor. Here’s why sizing isn’t always straightforward:

- Insulation & Window Quality: Well-insulated rooms or energy-efficient windows reduce HVAC needs.
- Ceiling Height: Higher ceilings need more capacity because heat rises.
- Sun Exposure: South or west-facing rooms generally run hotter and may need a larger BTU unit.
- Climate Zone: Colder or hotter climates require adjusting size accordingly.
Quick Sizing Table for Common Room Sizes
Room Size (sq. ft.) Recommended Mini Split Size 200 - 350 9,000 BTU 350 - 550 12,000 BTU 550+ Consider multi-zone or larger unitsTrue DIY vs. Pro Install-Only Mini Splits: Which Option Fits You?
When you’re shopping for mini splits, you’ll quickly notice a difference in the installation requirements. Some models cater to true DIY installations, while others recommend or require professional HVAC contractors for install.
Brands That Make DIY Easier
MRCOOL is a standout for homeowners seeking a genuine DIY solution. Their plug-and-play kits come with pre-charged line sets and quick connect fittings, meaning the refrigerant lines are pre-filled and sealed in the factory, and the quick connect couplings let you snap the lines together without expensive vacuum pumps or refrigerant handling.
This dramatically reduces installation complexity and time. The MRCOOL DIY line is designed around 115V power supply plugs (plug-in convenience) so you can install a 9,000 or 12,000 BTU unit without hard electrical wiring.
Pro-Install Recommendations
On the other side, brands like Zone Air and Pioneer generally expect installations to be performed by certified pros, especially for their higher capacity 12,000 BTU units or anything requiring 230V hard-wiring. These models might not come with pre-charged line sets or quick connect fittings and often require a vacuum pump and refrigerant charging on site.
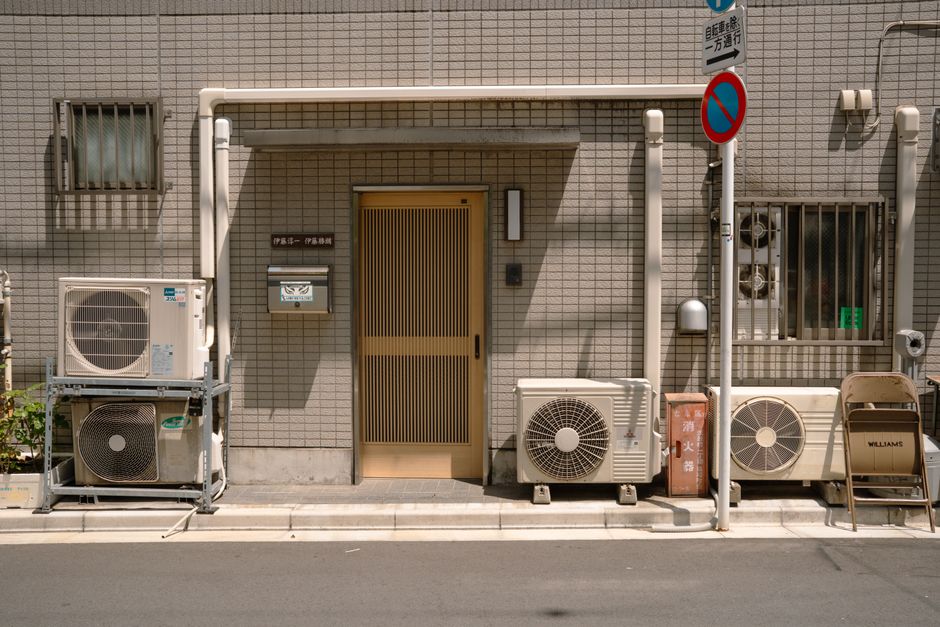
For these installs, expect to schedule a day or more for professional work, as the process involves:
omnihomeideas.com- Running copper refrigerant lines through walls
- Pulling vacuum to remove air/moisture
- Charging refrigerant (if needed)
- Hard-wiring 230V power supply
- Setting up and testing control systems
Power Supply Realities: 115V Plug-In vs. 230V Hard-Wiring
The difference between 115V plug-in versus 230V hard-wired mini splits often surprises homeowners.
- 115V (Plug-in) Units: Typically 9,000 BTU or smaller, these are very homeowner-friendly. You just plug them into a standard outlet designed for their amperage, avoiding electrical permits or panel upgrades.
- 230V (Hard-Wired) Units: Usually 12,000 BTU or larger, these require permanent circuit wiring and potentially electrical panel work. This typically means hiring an electrician.
The 115V plug-in convenience is largely possible because of new technology like pre-charged line sets that minimize refrigerant loss and make DIY installs safer and code compliant. The 230V 12,000 BTU mini splits offer more capacity and efficiency but at the cost of a more involved install process.
Installation Time Expectations and Homeowner Workflow
If you’re a homeowner considering installing a 9,000 or 12,000 BTU mini split yourself, understanding how it will impact your schedule is critical.
9,000 BTU DIY Installation Workflow (MRCOOL Example)
- Unbox the complete kit (Indoor unit, outdoor condensing unit, pre-charged line set, mounting hardware, and wall plate).
- Mount the indoor unit bracket and drill a hole for line set pass-through.
- Mount the outdoor unit on a pad or bracket outside.
- Connect the line set using quick connect fittings—no vacuum needed!
- Plug the outdoor unit into a 115V outlet (sometimes a dedicated outlet needs to be installed).
- Test system operation, set remote controls, and enjoy climate comfort.
Estimated install time: 4-6 hours for a competent DIYer with basic tools.
12,000 BTU Pro-Install Typical Workflow (Zone Air or Pioneer)
- Site survey by professional HVAC technician.
- Mount indoor unit and outdoor unit.
- Run copper refrigerant lines and electrical wiring, hard wire 230V power.
- Pull vacuum on refrigerant lines to clear moisture and air.
- Charge the system with refrigerant if not factory-charged.
- System startup and commissioning.
Estimated install time: 1-2 days depending on complexity, electrical work, and wall drilling.
Bottom Line: Which Mini Split Size Is Right For Your Home?
Choosing between a 9,000 BTU mini split and a 12,000 BTU mini split comes down to carefully balancing room size, installation preferences, and budget.
- Go with a 9,000 BTU mini split if: Your space is under 400 sq.ft., you want a true DIY-friendly setup, and prefer plug-in 115V power with minimal electrical work. MRCOOL is the top choice for this setup, thanks to their pre-charged line sets and quick connect fittings.
- Choose a 12,000 BTU mini split if: Your room is larger than 400 sq.ft. or you live in a more extreme climate zone. Be prepared for a pro install with 230V hard wiring, refrigerant charging, and a longer install window. Brands like Zone Air and Pioneer dominate this category.
By understanding your space and weighing the true DIY vs pro install realities, you’ll be better equipped to select a mini split that fits your lifestyle and delivers comfort for years to come.
Additional Resources
- MRCOOL Mini Splits – DIY-focused HVAC with pre-charged lines
- Zone Air – High performance HVAC requiring professional install
- Pioneer Mini Splits – Traditional mini splits commonly installed by pros